In this step of the tutorial you use the Kanzi Engine API to show the content of a Page or Page Host node as a popup window.
In this section you add structure to the SettingsRoot node and set it up so that it is shown on top of the Home, Media, and Car applications.
If you always want to show the content of a Page or a Page Host node as a popup window on top of all the other content in your application, you have to place that Page or Page Host node as the last node in the scene graph so that Kanzi always renders it on top of everything.
To create structure for the Settings popup window:
 to enable the Keep Active property.
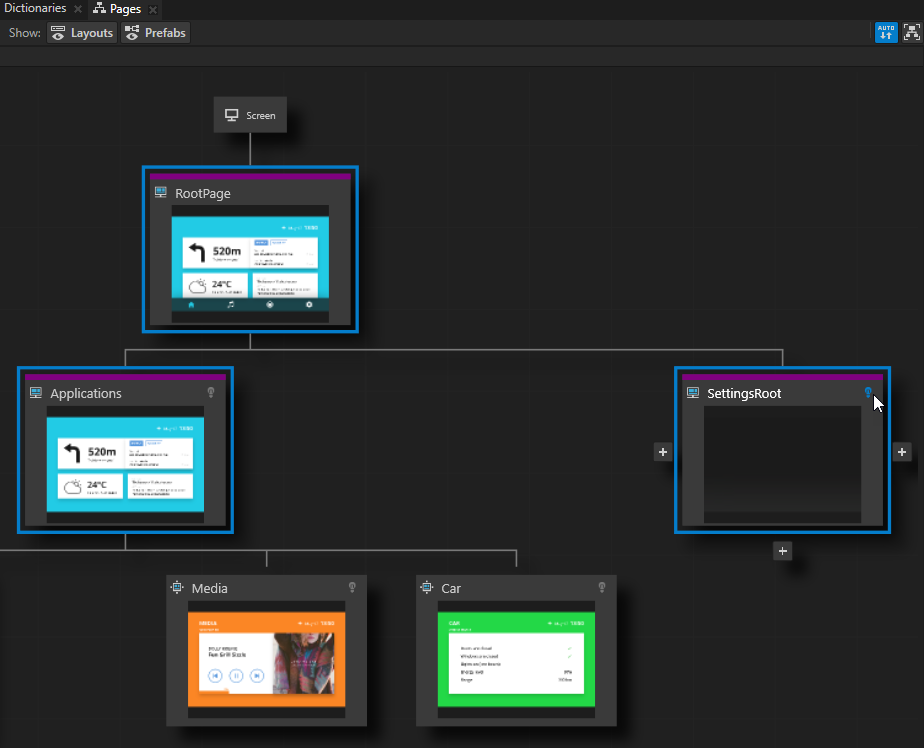
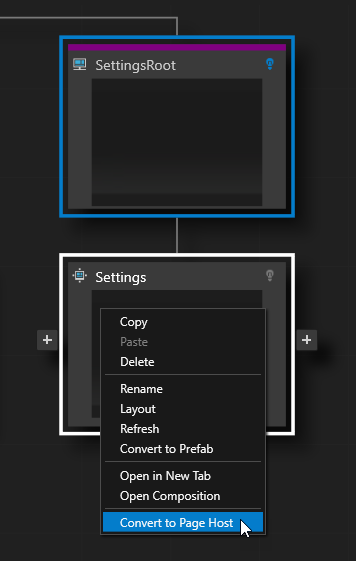
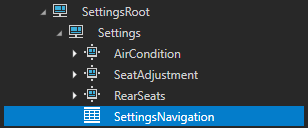
 to create a child Page node under that node, and name it Settings.
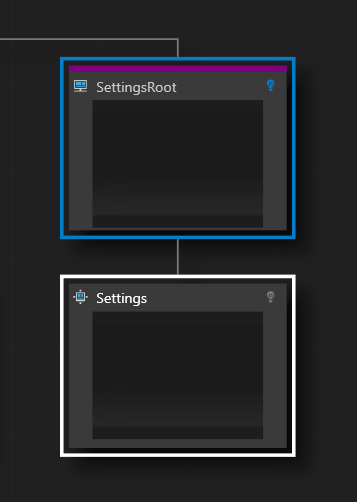
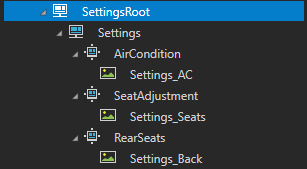
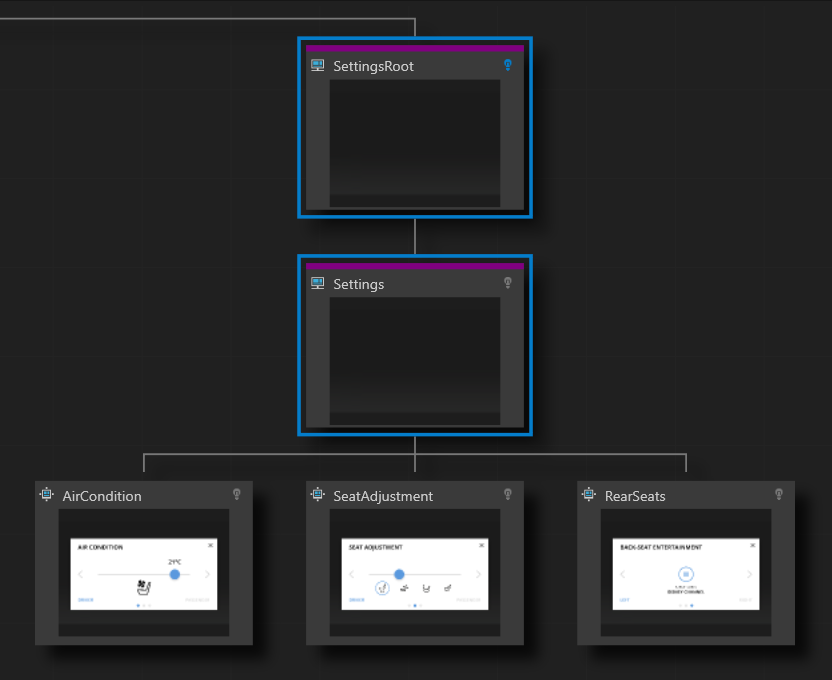
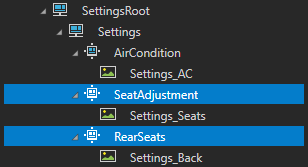
 three times to create three child Page nodes under the Settings node, and name them AirCondition, SeatAdjustment, and RearSeats.
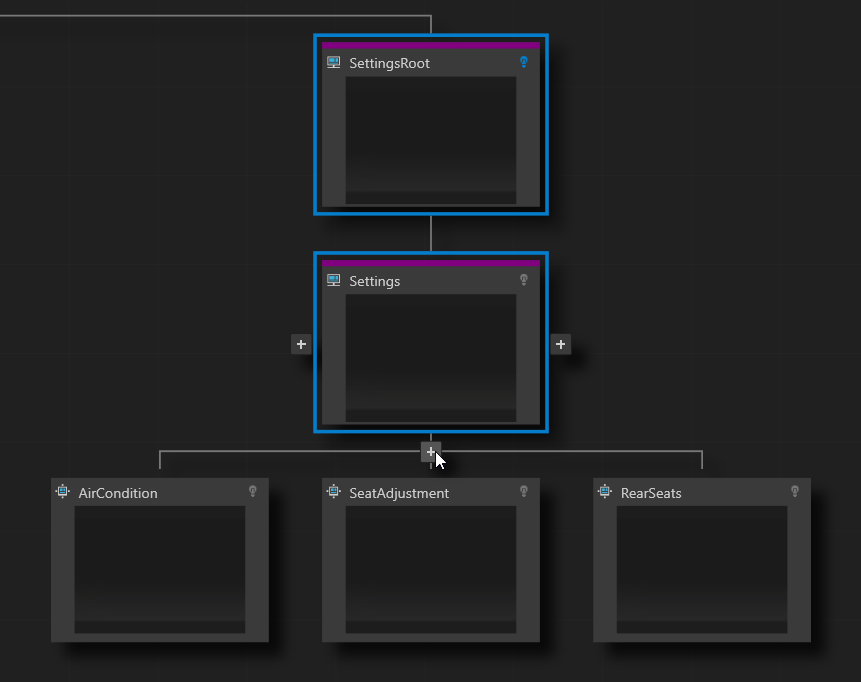
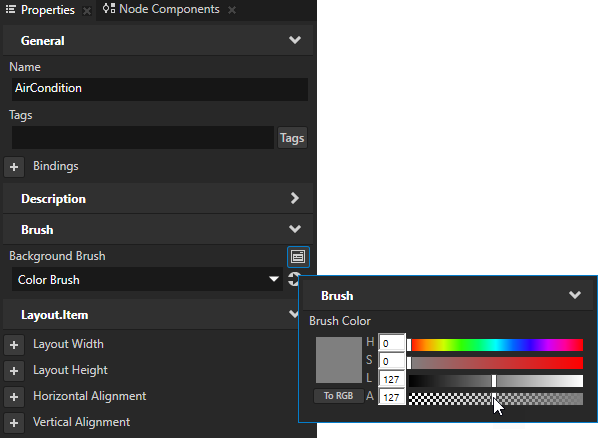
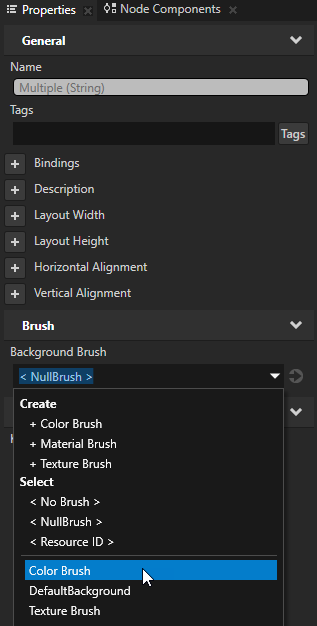
 next to the property name, and set the Alpha (A) to 127 to make the Color Brush transparent gray.
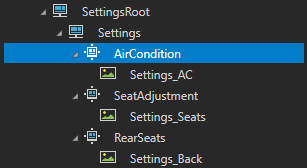
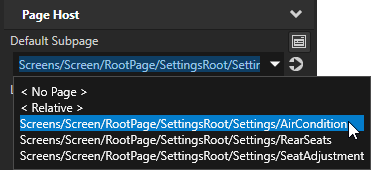
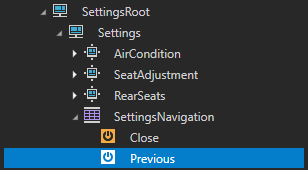
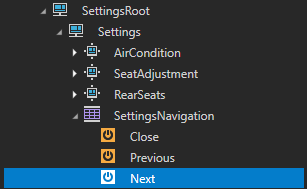
In this section you create the navigation for the Page nodes AirCondition, SeatAdjustment, and RearSeats in the Settings popup window. With the navigation you enable the users to navigate between Page nodes in the Page Host node Settings, and close the popup window.
To create the navigation for the Settings popup window:
 to position and resize the node so that it covers the close, previous, and next buttons in the Image node Settings_AC.
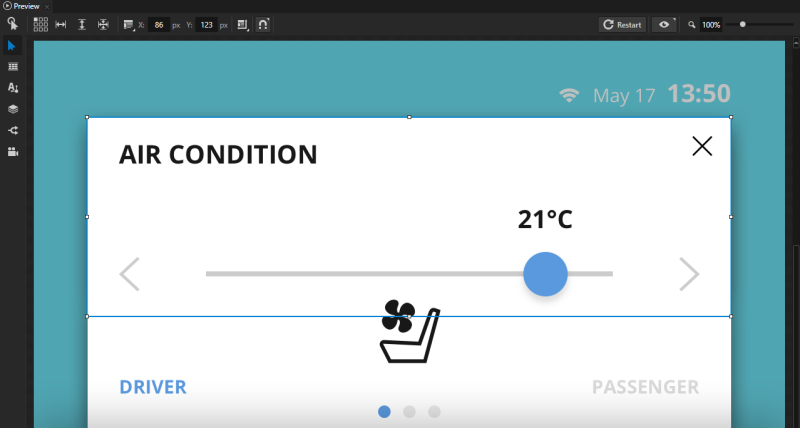
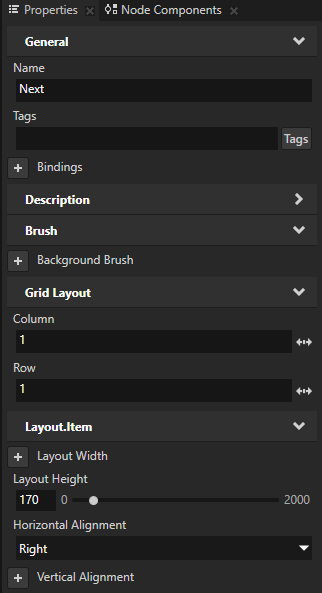
 to remove one column and one row.
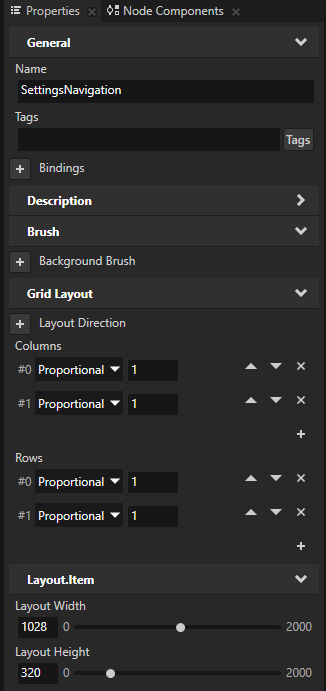
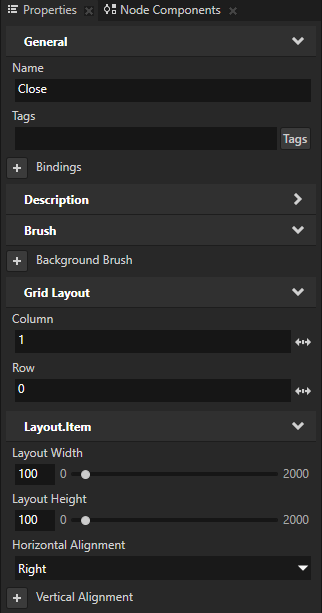
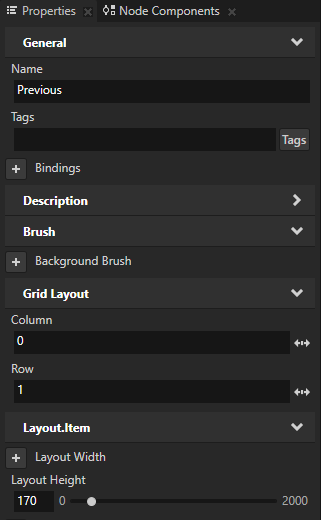
 to open the Add Properties window. In the left column of the Add Properties window double-click the Column and Row properties to add them to the node you selected.
To quickly find a property, type a few letters of the property name in the search box of the Add Properties window.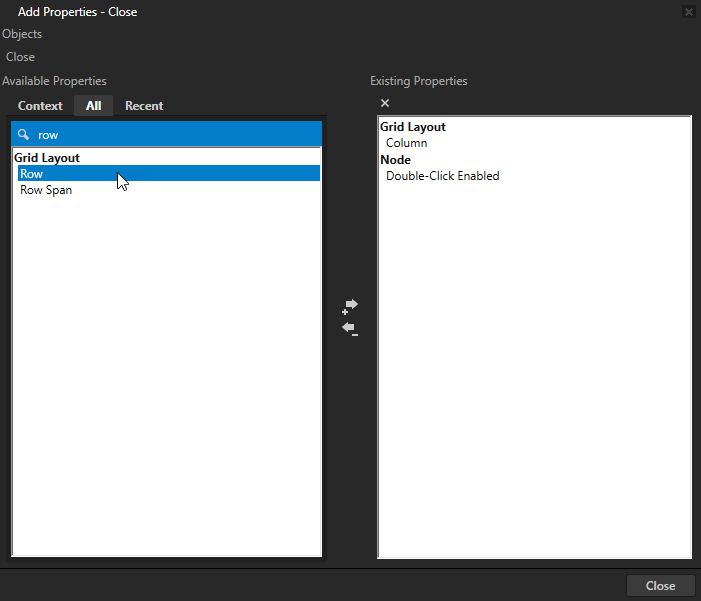
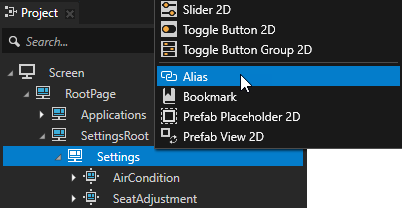
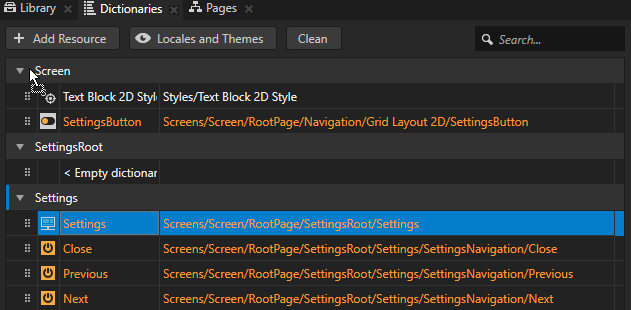
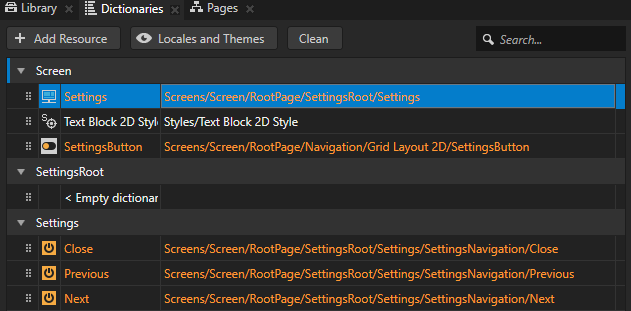
You can see the aliases in your project in the Dictionaries window.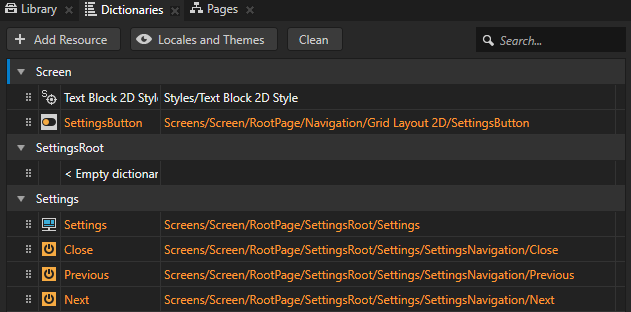
In this section you add code to your application to show the contents of the Settings node as a popup window and print to the Kanzi debug console the names of the Page nodes from and to which the user navigates.
To use the Kanzi Engine API to show the Settings node as a popup window:
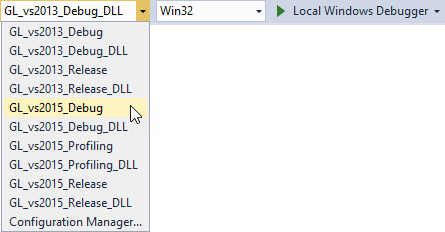
If you open the tutorial solution in Visual Studio 2017, when asked to retarget the project to the latest Microsoft toolset, click Cancel.
onConfigure function set the size of the application window:class Pages : public ExampleApplication
{
public:
virtual void onConfigure(ApplicationProperties& configuration) KZ_OVERRIDE
{
// Set the size of the application window to match the size of the Screen node.
configuration.defaultWindowProperties.width = 1200;
configuration.defaultWindowProperties.height = 720;
...
}Pages class add pointers for the Settings node and the SettingsButton node:private:
Node2DSharedPtr m_settingsButton;
PageHostSharedPtr m_settingsPageHost;onProjectLoaded function get the nodes you need to navigate in the Settings popup window: virtual void onProjectLoaded() KZ_OVERRIDE
{
// Get the Screen node.
ScreenSharedPtr screen = getScreen();
// Get the button which navigates to the Settings node.
m_settingsButton = screen->lookupNode<Node2D>("#SettingsButton");
// Get the Settings node using the alias of that node.
m_settingsPageHost = screen->lookupNode<PageHost>("#Settings");
}
Pages class register the message handler for the SettingsButton node:private:
// Define the handler for the ToggledOn message from the SettingsButton node.
// When the user clicks the SettingsButton, navigate to the Settings page.
void onSettingsButtonToggledOn(ButtonConcept::ToggledOnMessageArguments& /*message*/)
{
// Send a Navigate message to the Page Host node Settings to show that page.
PageHost::NavigateMessageArguments args;
m_settingsPageHost->dispatchMessage(PageHost::NavigateMessage, args);
}
// Define the handler for the ToggledOff message from the SettingsButton node.
// When the user clicks the SettingsButton, close the Settings page.
void onSettingsButtonToggledOff(ButtonConcept::ToggledOffMessageArguments& /*message*/)
{
// Send a NavigateParent message to the Page Host of the Page Host node Settings to close the Settings page.
PageHost::NavigateParentMessageArguments args;
m_settingsPageHost->dispatchMessage(PageHost::NavigateParentMessage, args);
}private:
...
// Define the handler for the Button.Pressed message from the Next button.
// When the user clicks the Next button, navigate to the next subpage of the Page Host node Settings.
void onNextButtonClicked(ButtonConcept::PressedMessageArguments&)
{
// Send a NavigateNext message to the Page Host node Settings to navigate to the next subpage of that Page Host.
PageHost::NavigateNextMessageArguments args;
m_settingsPageHost->dispatchMessage(PageHost::NavigateNextMessage, args);
}
// Define the handler for the Button.Pressed message from the Previous button.
// When the user clicks the Previous button, navigate to the previous subpage of the Page Host node Settings.
void onPreviousButtonClicked(ButtonConcept::PressedMessageArguments&)
{
// Send a NavigatePrevious message to the Page Host node Settings to navigate to the previous subpage of that Page Host.
PageHost::NavigatePreviousMessageArguments args;
m_settingsPageHost->dispatchMessage(PageHost::NavigatePreviousMessage, args);
}
// Define the handler for the Button.Pressed message from the Close button.
// When the user clicks the Close button, close the Settings node and navigate to the
// Page node that is active.
void onCloseButtonClicked(ButtonConcept::PressedMessageArguments&)
{
// Toggle off the SettingsButton. When the SettingsButton is toggled off, it sends a ToggledOff message
// which the Application::onSettingsButtonToggledOff() function handles. This
// handler function closes the Settings page by sending the NavigateParent message.
m_settingsButton->setProperty(ButtonConcept::ToggleStateProperty, 0);
}onProjectLoaded function register the message handlers you created in the previous step: virtual void onProjectLoaded() KZ_OVERRIDE
{
...
// Define the handlers for the ToggledOnMessage and ToggledOffMessage messages from the SettingsButton node.
m_settingsButton->addMessageHandler(ButtonConcept::ToggledOnMessage, bind(&Pages::onSettingsButtonToggledOn, this, placeholders::_1));
m_settingsButton->addMessageHandler(ButtonConcept::ToggledOffMessage, bind(&Pages::onSettingsButtonToggledOff, this, placeholders::_1));
// Register message handlers for the Button.Pressed messages from the navigation buttons in the Page Host node Settings.
// Subscribe to the Button.Pressed message at the Next node. The Button 2D node Next generates this message when the user presses that button.
Button2DSharedPtr gotoNextPageButton = m_settingsPageHost->lookupNode<Button2D>("#Next");
gotoNextPageButton->addMessageHandler(ButtonConcept::PressedMessage, bind(&Pages::onNextButtonClicked, this, placeholders::_1));
// Subscribe to the Button.Pressed message at the Previous node. The Button 2D node Previous generates this message when the user presses that button.
Button2DSharedPtr gotoPreviousPageButton = m_settingsPageHost->lookupNode<Button2D>("#Previous");
gotoPreviousPageButton->addMessageHandler(ButtonConcept::PressedMessage, bind(&Pages::onPreviousButtonClicked, this, placeholders::_1));
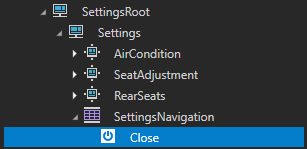
// Subscribe to the Button.Pressed message at the Close node. The Button 2D node Close generates this message when the user presses that button.
Button2DSharedPtr closeButton = m_settingsPageHost->lookupNode<Button2D>("#Close");
closeButton->addMessageHandler(ButtonConcept::PressedMessage, bind(&Pages::onCloseButtonClicked, this, placeholders::_1));
}onCloseButtonClicked function add handlers which print to the Kanzi debug console the name of the Page and Page Host nodes between which the user navigates:private:
...
// Define the handler for the Page.NavigationStarted message from each Page Host node.
// When page navigation starts, print to the Kanzi debug console
// the name of the Page Host node from which that navigation starts.
void onPageNavigationStarted(PageHost::NavigationStartedMessageArguments& message)
{
kzLogInfo(KZ_LOG_CATEGORY_GENERIC, ("Page navigation started: {}", message.getSource()->getName()));
}
// Define the handler for the Page.NavigationFinished message from each Page Host node.
// When page navigation finishes, print to the Kanzi debug console
// the name of the Page Host node to which that navigation finishes.
void onPageNavigationFinished(PageHost::NavigationFinishedMessageArguments& message)
{
kzLogInfo(KZ_LOG_CATEGORY_GENERIC, ("Page navigation finished: {}", message.getSource()->getName()));
}
// Define the handler for the Page.Activated message from each Page node.
// When a Page node becomes active, print to the Kanzi debug console
// the name of that Page node.
void onPageActivated(Page::ActivatedMessageArguments& message)
{
kzLogInfo(KZ_LOG_CATEGORY_GENERIC, ("Page activated: {}", message.getSource()->getName()));
}
// Define the handler for the Page.Deactivated message from each Page node.
// When a Page node is deactivated, print to the Kanzi debug console
// the name of that Page node.
void onPageDeactivated(Page::DeactivatedMessageArguments& message)
{
kzLogInfo(KZ_LOG_CATEGORY_GENERIC, ("Page deactivated: {}", message.getSource()->getName()));
}onProjectLoaded function add the message filters that you use to keep track of the page navigation: virtual void onProjectLoaded() KZ_OVERRIDE
{
...
// Add message filters to listen to the navigation between the Page and Page Host nodes.
// These message filters allow Kanzi to keep track of the page navigation in the application,
// which is useful for debugging.
screen->addMessageFilter(PageHost::NavigationStartedMessage, bind(&Pages::onPageNavigationStarted, this, placeholders::_1));
screen->addMessageFilter(PageHost::NavigationFinishedMessage, bind(&Pages::onPageNavigationFinished, this, placeholders::_1));
screen->addMessageFilter(Page::ActivatedMessage, bind(&Pages::onPageActivated, this, placeholders::_1));
screen->addMessageFilter(Page::DeactivatedMessage, bind(&Pages::onPageDeactivated, this, placeholders::_1));
}
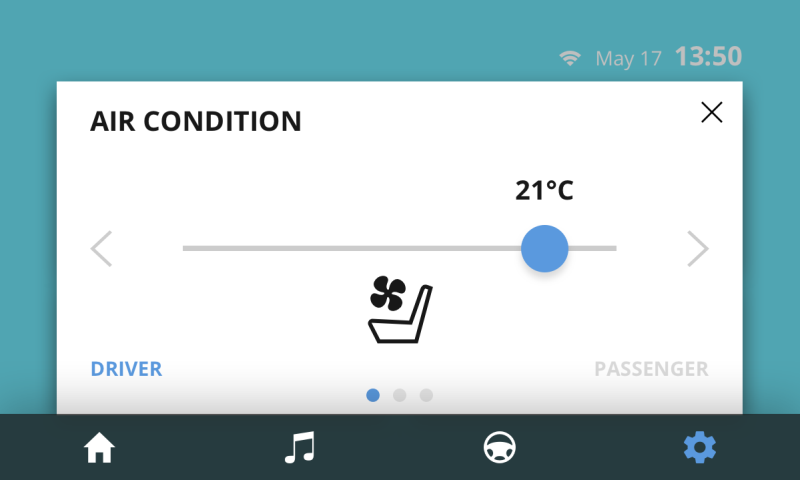
When you run the application, you can navigate to the Settings popup page and browse the subpages of that page. Each time you navigate to a page in the application, Kanzi prints the names of the Page Host nodes between which you navigate as well as the Page or Page Host nodes which are activated and deactivated.

In this tutorial you learned how to create application flow and structure with the Page and Page Host nodes using the Pages tools. To continue learning Kanzi you can:
To find out more about the Page and Page Host nodes, see Using the Page and Page Host nodes.
To find out more about working with the state managers, see Using state managers.
To find out more about working with triggers and actions, see Triggers.
